
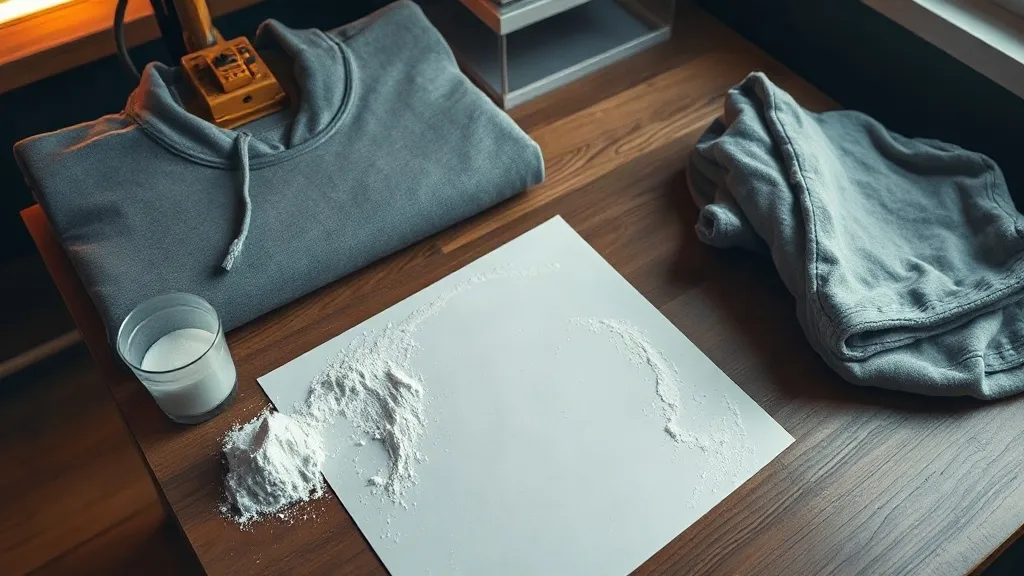
Walk into a small print shop that opened five years ago and one that opened five months ago, and you will often spot the difference on the shelf: the newer one probably has a roll of transfer film and a shaker of adhesive powder sitting next to the heat press. That shift is not a fad. dtf transfers solved a problem that screen printing and vinyl cutting never fully answered for low-volume work, which is how to put a full-color, photo-realistic design onto a cotton hoodie, a polyester jersey, and a canvas tote in the same afternoon without burning a screen for each one.
This guide is written for the person running the shop or thinking about starting one. It covers what the process actually is, where it earns its keep, how to price it without losing money, and the specific mistakes that show up again and again in beginner setups.
What DTF Actually Is, Without the Marketing Language
Direct-to-film is a printing method with three moving parts: a digital printer, a sheet or roll of PET film, and a thermoplastic adhesive powder. The printer lays down water-based pigment inks onto the film in mirror image, the design gets a dusting of powder while the ink is still wet, and the sheet goes through a curing step so the powder melts into a flexible adhesive layer. What you end up holding is a printed transfer that can sit in a drawer for months and be pressed onto fabric whenever an order comes in.
The pressing step is where the dtf transfer becomes a garment. You place the sheet powder-side down on the fabric, press at a temperature that activates the adhesive, let it cool, and peel the film away. The ink and adhesive stay behind, bonded into the fibers.
Why the powder matters more than the printer
Newcomers tend to obsess over printer specs and ignore the powder, which is backwards. The adhesive is what determines how the print feels, how it stretches, and whether it survives twenty washes. Too little powder and the edges lift after a few cycles. Too much and you get a stiff, plastic-like patch that customers notice immediately. The sweet spot is a thin, even coat with no bare ink showing, and getting there is more about technique than equipment.
Where DTF Fits and Where It Does Not
No single decoration method wins everywhere, and a shop that treats DTF as a universal answer will eventually disappoint someone. Here is a realistic breakdown.
- Strong fit: full-color artwork with gradients, photographs, or fine detail; small runs of one to fifty pieces; jobs that mix garment types in a single order; names and numbers on teamwear.
- Reasonable fit: mid-size runs where setup time for screen printing would eat the margin; samples and proofs for clients who need to see a physical product.
- Weak fit: very large runs of a simple one-color design, where screen printing still wins on cost per unit; garments that will be washed at industrial temperatures; anything needing a completely soft hand feel on very stretchy activewear.
The mixed-garment scenario deserves emphasis. If a customer orders twelve shirts in three different fabric blends, screen printing means three setups and three cure profiles. With film transfers, you print once and adjust press settings per garment. That flexibility is the whole business case for a small shop.
Fabric Compatibility in Plain Terms
One of the honest advantages of the method is that it does not require a specially coated garment. Cotton, cotton-poly blends, polyester, canvas, and many synthetic fabrics all accept the adhesive. That said, results vary more than sales pages admit.
Cotton and blends
These are the forgiving options. The adhesive grips well, the print stretches with the fabric, and wash durability is generally solid when the press settings are right. Most shop owners start here and stay here for the bulk of their work.
Polyester and performance fabrics
Polyester requires more attention because the fabric itself can be sensitive to heat and because dye migration is a real risk on darker colored synthetics. A dye-blocking film or a lower pressing temperature with a longer dwell usually handles it. Test on an offcut before committing to a full order, especially with reds, navies, and blacks.
Nylon, coated fabrics, and treated canvas
Water-repellent finishes and silicone coatings can prevent the adhesive from bonding at all. If a client brings in a jacket with a coated shell, do a test press on an inside seam before promising anything. Saying no to a job that will fail is cheaper than replacing the garment later.
Setting Up Without Overspending
The entry cost is lower than most people expect, which is both the appeal and the trap. You can start with a decent desktop printer converted for pigment ink, a small heat press, film, powder, and a curing oven or a carefully used press. But the cheap route has hidden costs.
- Do not skip the curing step. Powder that has not been properly melted will shed inside the printer, clog rollers, and ruin the finish. A dedicated curing oven is the cleanest solution; a press used for curing works but demands consistency.
- Budget for humidity control. Powder clumps in damp air. A sealed container and a dry room matter more than most tutorials suggest.
- Buy film in small quantities first. Film behavior varies by brand and by climate. Test two or three options before committing to a bulk order.
- Keep a wash-test log. Press one sample of every new garment and film combination, wash it five times, and write down the result. That log becomes your real quality manual.
Pricing So the Job Actually Pays
New shops tend to price transfers by comparing them to vinyl, which undersells the work and ignores the real cost structure. A workable formula starts with material cost per sheet, adds a realistic labor figure for printing, powdering, and curing, then layers in press time and a margin that covers mistakes.
Material cost is easy to calculate once you know your yield per roll. Labor is where owners fool themselves. Powdering and curing a batch of twenty sheets takes real minutes, and those minutes have to appear somewhere in the price. A simple approach is to set a minimum order value that covers your time regardless of quantity, then scale from there.
For customers who are shopping around and typing dtf transfers near me into a search bar, what they usually want is speed and a physical sample. Offering a single pressed sample at a small fee, credited against a later order, converts far better than a price list alone.
Common Mistakes That Cost Beginners Money
Most failures in the first few months come from a short list of repeat offenders.
- Pressing too hot. Higher temperature feels safer but scorches fabric and makes the print brittle. Follow the film manufacturer's range and adjust for the garment, not the other way around.
- Peeling while hot. Most films want a cold peel. Peeling early stretches the adhesive and causes edge lift later.
- Ignoring pressure. Uneven pressure shows up as patchy adhesion, usually at the edges of a large design. Check your press with a pressure test sheet.
- Storing sheets flat under weight. Powder can transfer to the wrong side of the film. Store them in a dry sleeve, printed side protected.
- Skipping the care label. Telling customers to wash inside out in cold water and avoid ironing directly on the print prevents most complaints before they start.
Frequently Asked Questions
How long do DTF prints last on a shirt?
With correct pressing and normal care, most prints hold up through fifty or more home wash cycles. The variables that shorten that number are pressing temperature, peel timing, and washing in hot water or drying on high heat.
Can I use DTF transfers on dark and light garments equally well?
Yes, and that is one of the practical advantages. The white ink layer in the print provides opacity, so a design looks consistent on black, navy, or white fabric. The main caveat is dye migration on dark polyester, which needs a blocking film or adjusted press settings.
Do I need a special printer to make my own transfers?
You need a printer set up for pigment inks and a workflow that keeps the white ink circulating. Many shops start with a converted desktop model and upgrade once volume justifies it. Buying pre-printed transfers from a supplier is a sensible way to test demand before investing in equipment.
Is DTF cheaper than screen printing for small orders?
For runs under roughly two dozen pieces, usually yes, because there is no screen setup cost and no per-color charge. Above a few hundred identical pieces, screen printing typically becomes the lower cost per unit.
What fabrics should I avoid altogether?
Heavily coated or water-repellent fabrics, silicone-finished textiles, and anything with a surface that prevents the adhesive from contacting the fibers. When in doubt, press a test piece on an inside seam before accepting the order.
The Takeaway for a Working Shop
Film transfer printing is not magic and it is not a replacement for every method in the shop. What it does well is remove the setup penalty from small, colorful, mixed-fabric orders, and that is exactly the kind of work most small shops turn away or lose money on. Get the powder coat even, keep a wash-test log, price your labor honestly, and the method becomes one of the more reliable tools on the bench.