
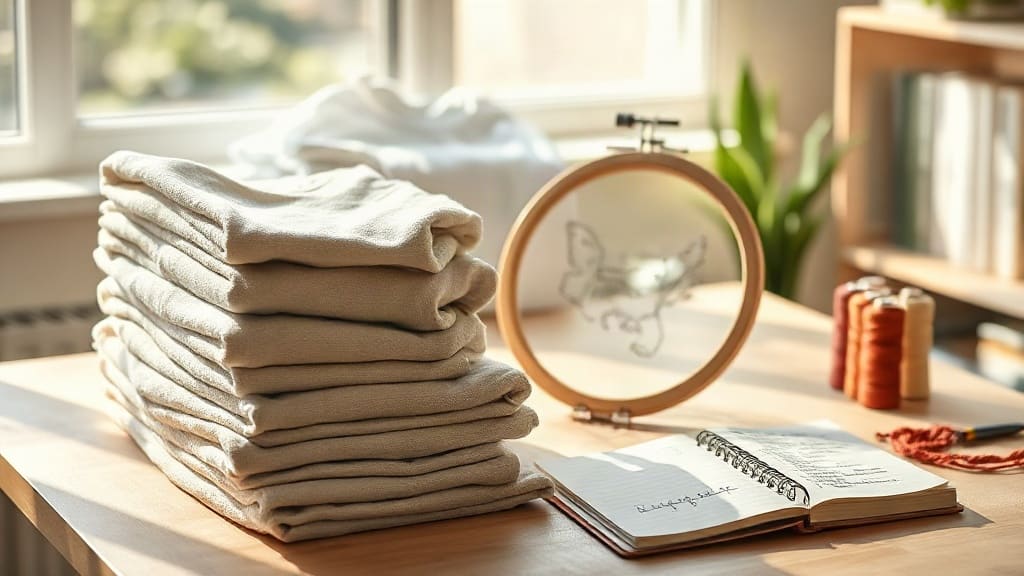
Every embroiderer has a graveyard of failed blanks somewhere in the shop. A stack of bargain tees that puckered around the chest logo. A batch of polos where the left chest landed half an inch off because the placket pulled the hoop crooked. Those garments cost money twice: once at wholesale, and again in the time you spent ripping stitches or redoing the run. Smart blanks exist to end that cycle. They are the blanks chosen not by price tag alone, but by how they behave under a needle.
If you run a small embroidery business, a school spirit shop, or a corporate apparel program, the blank you pick decides more about your final product than almost any other decision. This guide walks through what makes a blank smart, how to test candidates before you commit to a case, and how to build a blank library that keeps your machines humming instead of stopping for rework.
What Makes a Blank "Smart"?
The phrase gets thrown around loosely, but a smart blank earns the label through measurable traits. It is not simply a nice fabric or a trendy cut. It is a garment that cooperates with the embroidery process from hooping to finishing.
Four characteristics show up again and again in blanks that embroiderers keep reordering:
- Stable hand and body. The fabric does not stretch wildly when hooped, so registration stays tight across a 8,000 stitch logo.
- Consistent cut and seam placement. The left chest is where the spec sheet says it is, batch after batch, so you can set one hoop position and trust it.
- Thread-friendly surface. Tightly woven or densely knit fabric holds satin stitches without sinking or showing the weave through the design.
- Predictable shrinkage and care behavior. A garment that shrinks two sizes after the first wash will distort every logo on it.
Notice what is missing from that list: brand name and price. A smart blank can come from a value line if it passes the tests. What matters is whether the garment behaves the same way on run one and run five hundred.
Why Blank Choice Decides Your Profit Margin
New embroiderers tend to price a job by adding a markup to the blank cost plus a stitch charge. That math hides the real cost of a bad blank. Consider a typical left chest logo run of 50 pieces. If three garments pucker and need to be replaced, you have lost the blanks, the thread, the backing, and roughly an hour of machine time. At a shop rate of $60 per hour, that is $60 gone before you count the replacement garments.
Multiply that across a season and the pattern becomes clear. Cheap blanks that fail 6 percent of the time cost more than mid-range blanks that fail 1 percent. This is the core argument for treating blank selection as a production decision, not a purchasing decision.
There is a second, quieter cost: customer perception. A puckered logo on a $12 tee reads as "cheap embroidery." The same design on a $16 tee that stitches flat reads as craftsmanship. You are not selling fabric. You are selling the finished decorated garment, and the blank is the canvas that either supports or undermines that impression.
How to Test a Blank Before You Buy a Case
Ordering a full case of untested blanks is a gamble. A better approach is a small, repeatable test that takes about an hour and tells you almost everything you need to know.
Step 1: Stitch a Standard Test Design
Create a test file that includes a dense satin border, small text at 4mm cap height, and a fill area with a curve. This single design exposes most blank weaknesses. Dense satin reveals puckering. Small text shows whether the weave swallows detail. Curved fills expose stretch and distortion.
Step 2: Hoop It the Way You Would in Production
Do not baby the test. Use the same backing, the same hooping method, and the same machine speed you use on real orders. A blank that only stitches well under ideal conditions is not a smart blank; it is a blank that will embarrass you on a busy Friday.
Step 3: Wash and Dry It Twice
Shrinkage and color bleed show up after laundering, not before. Run the test garment through two normal wash and dry cycles, then compare the logo to the original. If the design has distorted, the blank is not ready for client work.
Step 4: Log the Results
Keep a simple spreadsheet: blank style, fabric content, stitch count of the test, hoop method, and pass or fail notes. After a dozen entries you will have a shortlist of blanks you can trust, and a blacklist of ones that wasted your time.
Matching Blanks to Decoration Method
Not every smart blank is smart for every job. A blank that performs beautifully under flat embroidery may be a poor host for a large applique or a heavy 3D foam design.
Lightweight ring-spun cotton tees handle small to medium logos well but can struggle with dense fills over 10,000 stitches unless you use a cut-away backing. Mid-weight pique polos are more forgiving because the fabric has more body, which is why they remain the default for corporate left chest work. Performance fabrics, often polyester blends, require a different needle and tension setup, but they hold crisp edges once dialed in.
Fleece is its own category. A smart fleece blank has a tight face that resists stitch sink and a stable backing that does not stretch when hooped for a back design. Testing fleece with a mid-size logo before committing to a holiday order is worth the hour.
Building a Blank Library That Works for You
Once you have tested a handful of styles, resist the urge to keep adding new ones. A focused library of five to eight proven blanks covers most orders and keeps your settings, backing choices, and pricing predictable. Add a new style only when a client request or a market gap justifies the testing time.
Organize the library by use case rather than by brand. A simple structure works well:
- Everyday tees for small logos and event shirts
- Polos for corporate and uniform programs
- Performance wear for sports and outdoor clients
- Fleece and outerwear for seasonal and premium orders
- Specialty blanks for niche requests, such as organic cotton or oversized fits
When a client asks for something outside the library, quote the testing time into the job or steer them to a proven alternative. That is not being difficult; it is protecting the quality they are paying for.
Common Mistakes When Choosing Embroidery Blanks
Even experienced shops fall into a few traps. The most frequent is buying on unit price alone and discovering the savings vanish in rework. Another is trusting a supplier's marketing copy instead of running a test stitch. A third is switching blank styles mid-order because a size ran out, which forces a new hoop position and risks inconsistent results across the run.
A quieter mistake is ignoring fabric weight relative to design density. A 4.3 oz tee and a 6.1 oz tee need different backing and sometimes different underlay. Treating them as interchangeable leads to the kind of subtle puckering that customers notice even if they cannot name it.
Frequently Asked Questions About Smart Blanks
What exactly are smart blanks?
Smart blanks are garments selected for embroidery production based on how they hoop, stitch, and wear, rather than on price or brand alone. They are tested for stability, consistent cut, and wash performance before being added to a shop's regular lineup.
Do I need to test every blank style I buy?
Yes, at least once. A single test garment with a standard design takes about an hour and can save you from a failed case order. After testing, you can reorder the same style with confidence as long as the supplier does not change the spec.
Are expensive blanks always better for embroidery?
No. Price correlates with fabric quality and brand prestige, not with stitch performance. Some mid-range and value blanks stitch cleaner than premium fashion tees because they are cut and woven with more stability in mind.
How do I know if a blank will pucker?
Puckering usually comes from fabric stretch, insufficient backing, or too dense a design for the fabric weight. Test with a dense satin border and small text. If the fabric pulls around the stitches or the text fills in, the blank needs more backing or a different design density.
Can I use the same backing for every smart blank?
No. Cut-away backing suits stretchy knits and dense designs, while tear-away works for stable wovens and lighter stitch counts. Match the backing to the fabric and the design, and note the combination in your blank log so you can repeat it.